
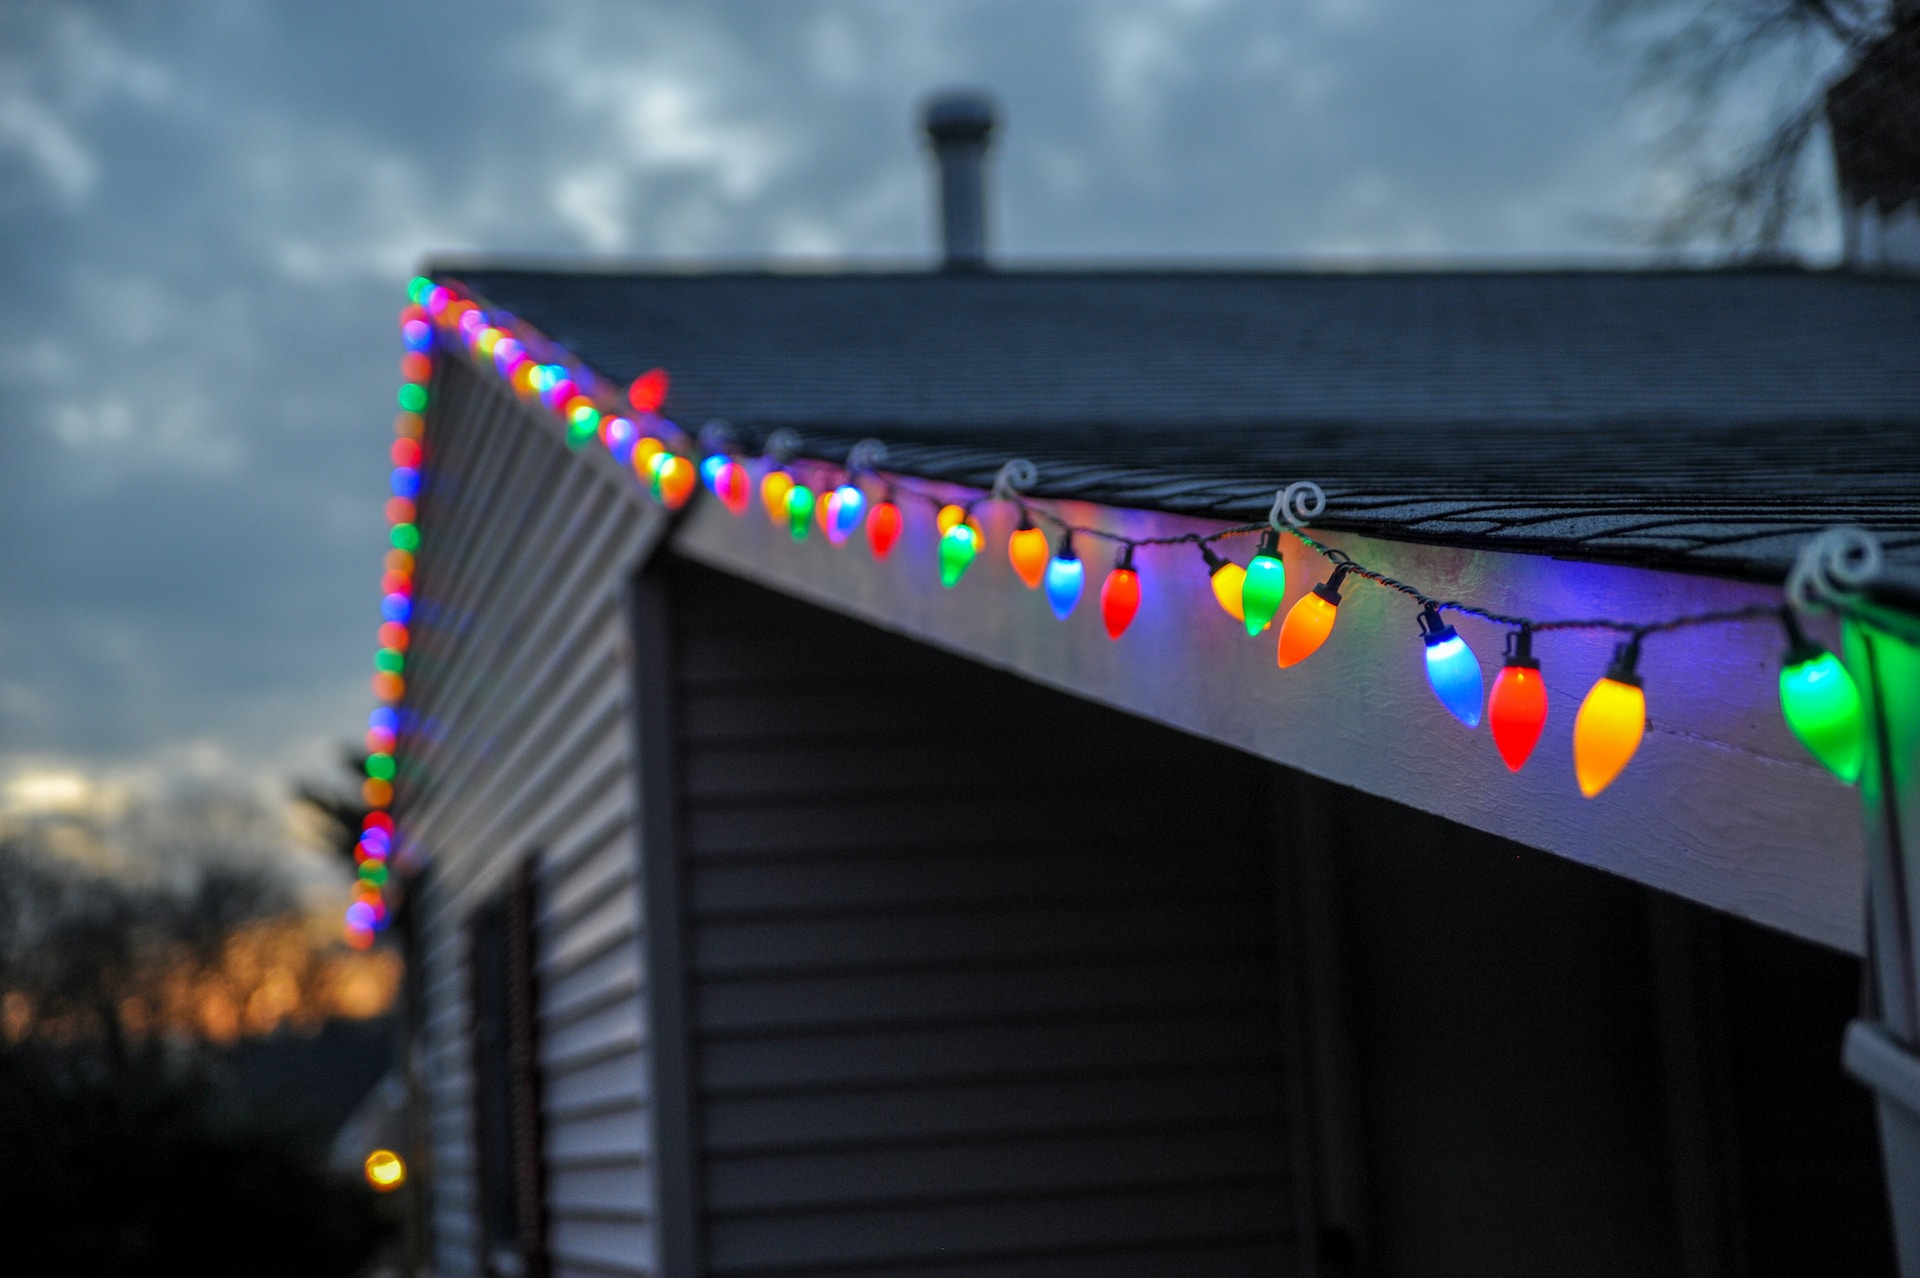
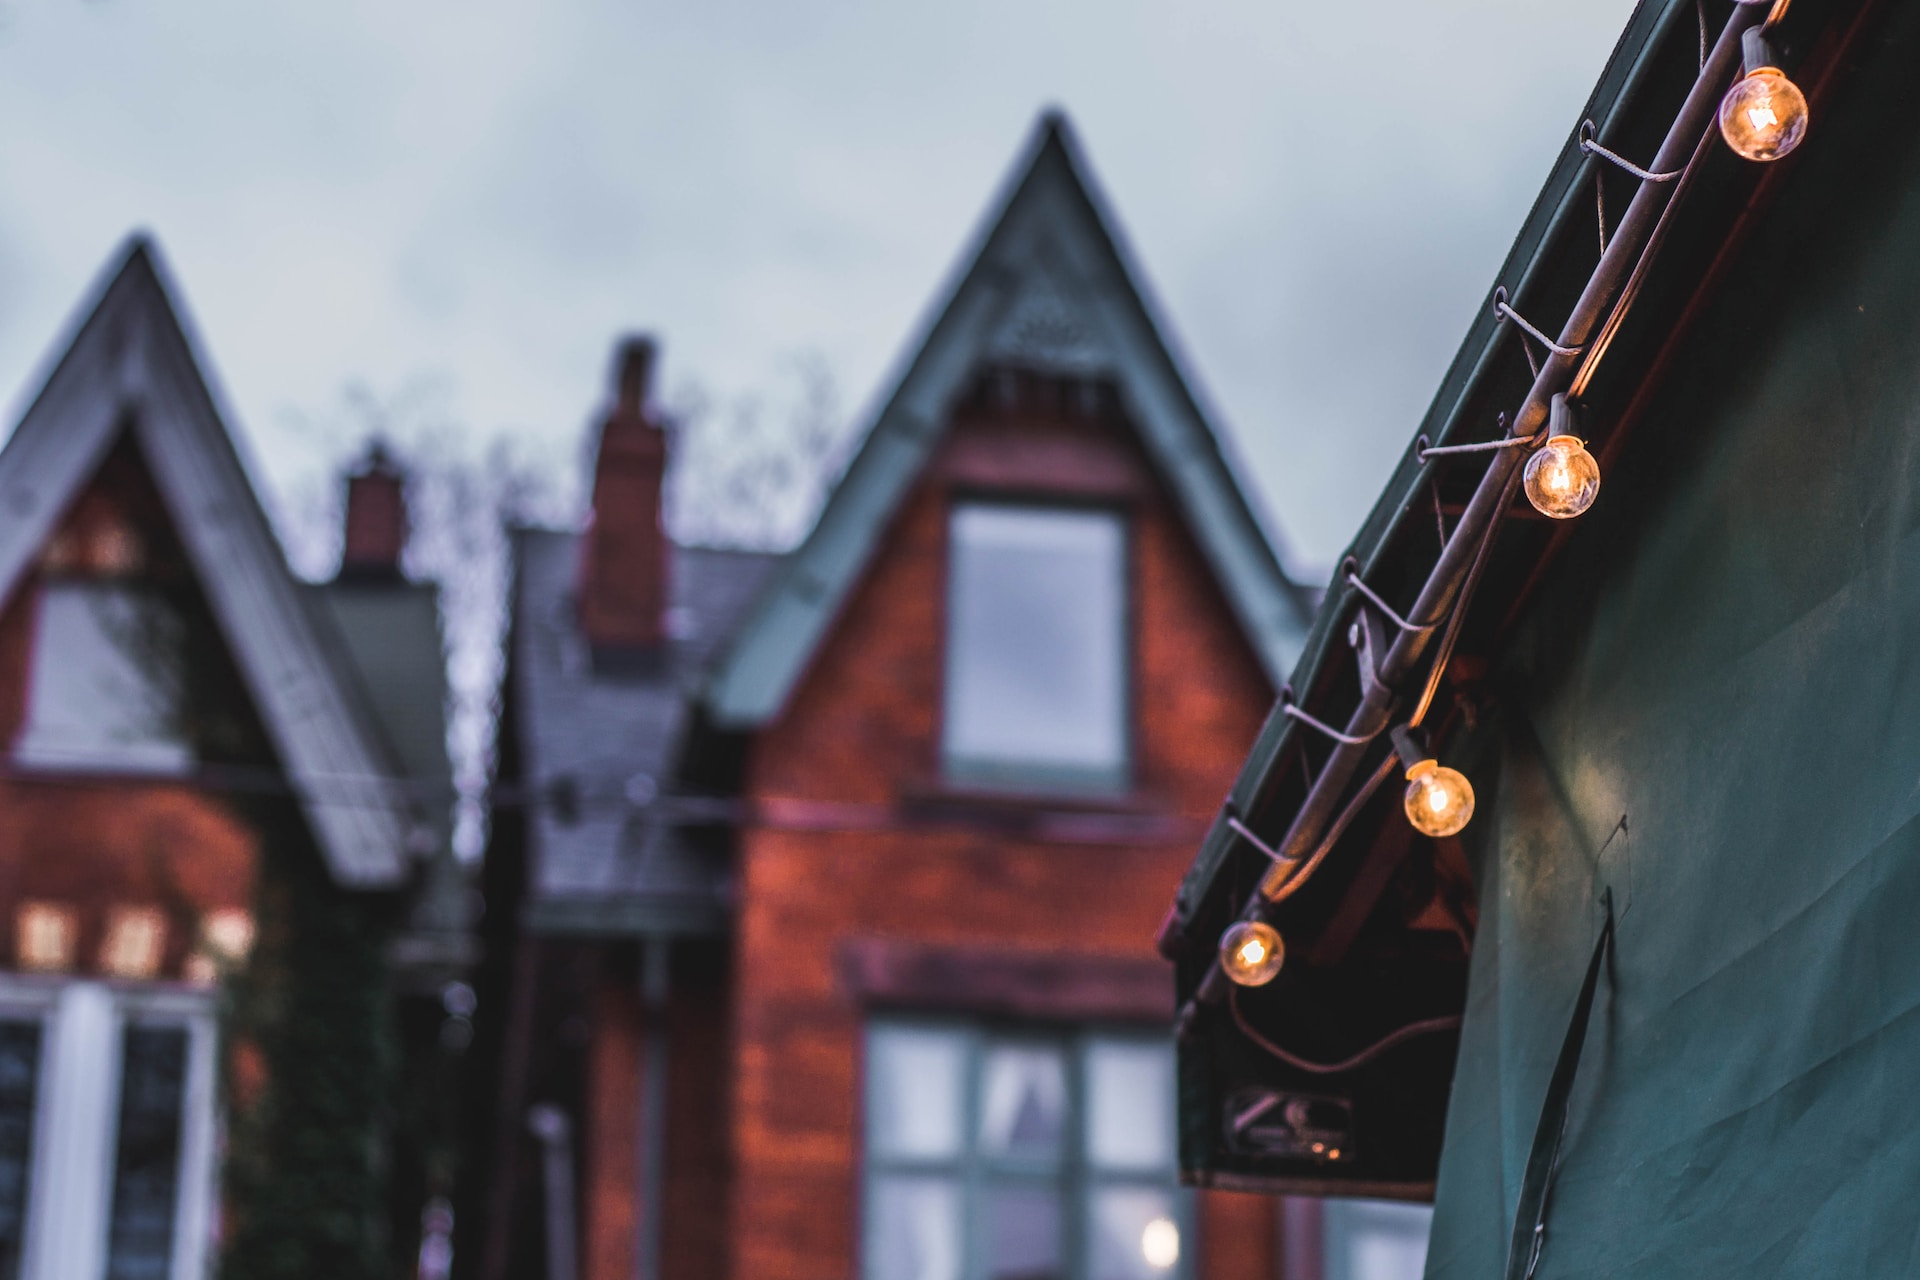
Gemstone lights are a beautiful and captivating addition to any outdoor space, adding elegance and charm to your surroundings. However, like any lighting fixture, they require regular maintenance to ensure their longevity and optimal performance. In this article, we will discuss essential maintenance hacks for gemstone lights that will transform them from dull to dazzling. If you need the best Gemstone Lights Phoenix AZ, you can visit this site to find the best dealer and illuminate your space with stunning outdoor lighting solutions.
Cleaning and Dusting
Regular cleaning and dusting are essential to maintain the brilliance of your gemstone lights. Over time, dust, dirt, and debris can accumulate on the surface of the lights, diminishing their shine and clarity. To clean your gemstone lights, start by turning off the power supply. Use a soft, damp cloth or sponge to wipe the surface, removing any dirt or residue gently.
Inspecting for Damage
Regular inspections are crucial to identify any potential damage or issues with your gemstone lights. Check for any cracks, chips, or loose connections that may affect the performance of the lights or pose a safety hazard. Inspect the wiring and connectors for signs of wear or corrosion. If you notice any damage or loose parts, it is important to address them promptly. Depending on the severity of the issue, you may need to repair or replace the affected components.
Regular Bulb Replacement
Gemstone lights often use LED bulbs, which are known for their long lifespan. However, over time, these bulbs may start to dim or become less efficient. It is important to check the brightness and functionality of the bulbs regularly. If you notice any bulbs that are not lighting up or are significantly dimmer than the rest, it is time for a replacement. LED bulbs are generally easy to replace, and most gemstone lights come with spare bulbs or have replacement options available.
Protecting From Harsh Weather
Gemstone lights are designed to withstand various weather conditions, but it is still important to protect them from extreme elements. During harsh weather, such as heavy rain, snow, or strong winds, take precautionary measures to safeguard your gemstone lights. Install weather-resistant covers or enclosures to shield the lights from direct exposure. If your gemstone lights are installed near trees or shrubs, trim any overhanging branches that may damage the lights during storms.
Proper maintenance is key to keeping your gemstone lights looking their best and preserving their enchanting glow. Regular cleaning, inspections for damage, protection from harsh weather, and regular bulb replacement are all essential factors in maintaining the brilliance of gemstone lights.

 But what if you want a whole real forest in your home? Terrariums are the perfect way to create a lush and vibrant indoor miniature garden. You can build a terrarium with any type of material, such as glass, plastic, or wood, then add soil, plants, and some decorative elements for an eye-catching display that will bring life into your home. But keep in mind that terrariums require regular maintenance to keep them looking their best.
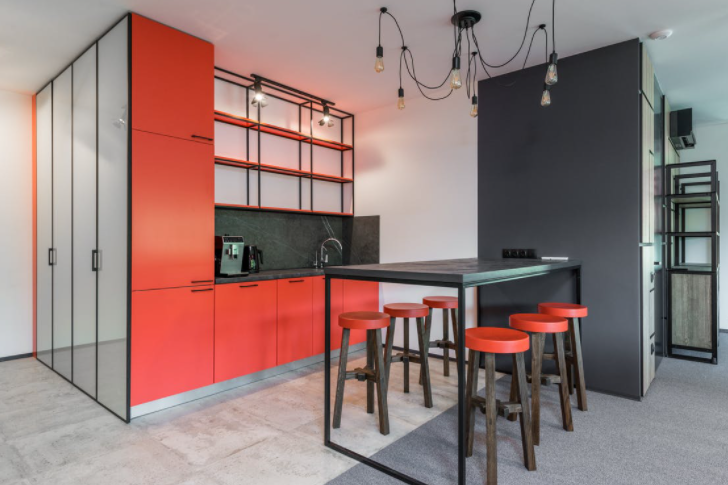

 Some homeowners want more privacy in their offices and living spaces. Others prefer a smaller home. It would help if you also considered how much privacy you want from your neighbors and other residents. Therefore, you should consider a U-shaped or L-shaped house plan. These house plans offer you more privacy when building your home.