

Concrete flooring can be a beautiful addition to any home. It is durable, low-maintenance, and relatively affordable. However, like all types of flooring, it requires regular cleaning and concrete polishing to maintain its beauty and luster. This blog post will discuss simple ways to polish your concrete flooring using everyday household items. Read on.
Get Those Handy Equipment Ready
 Before polishing your concrete flooring, you will need some essential equipment. It includes a bucket, mop, broom, rags, and cleaning solution. You can find most of these items at your local hardware store. If you have a concrete floor that is in good condition, you may get away with using just a bucket, mop, and broom. However, if your floor needs some serious TLC, you may want to consider using the right gear. These include a concrete grinder, electric floor polisher, extension leads, and vacs.
Grind Your Concrete
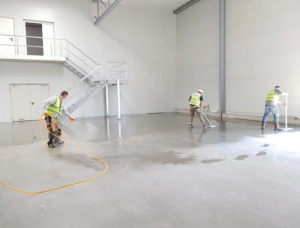
Now that you’ve prepared all the gear needed let’s begin with grinding your concrete. It’s to make sure that the surface is clean and free of dirt, dust, or debris. Start by grinding the edges and corners of your floor. It will help to create a smooth surface for polishing. If you have any tough stains or marks on your floor, use a concrete grinder to remove them. Be sure to wear goggles and a mask when using a grinder, as it can produce a lot of dust.
Apply the Polish
After you have ground the surface, it’s time to start polishing. Use an electric floor polisher to apply a thin layer of polish to your floor. Work in small sections and overlap each area with the previous one. If you need to stop for any reason, be sure to clean the equipment before you start again. Once you have applied the polish, let it dry for about 15 minutes. Then, use a rag to buff it until it shines. Be sure to work in the direction of the grain of the concrete. Once it’s dried, repeat these steps until your floor is entirely polished.
Add a Layer of the Final Coat of Sealer
 Finally, to make sure your polished concrete flooring is long-lasting, we recommend adding a layer of sealer. It will protect your floor from dirt, dust, and other contaminants. There are many different types of sealers available on the market, so be sure to choose one compatible with your flooring.
As you can see, polishing your concrete flooring is not as difficult as it may seem. With a few simple steps and some essential equipment, you can have a beautiful, shiny floor that will last for years. If you think the process seems complicated or don’t have time for this DIY project, consider hiring a professional floor polishing company.

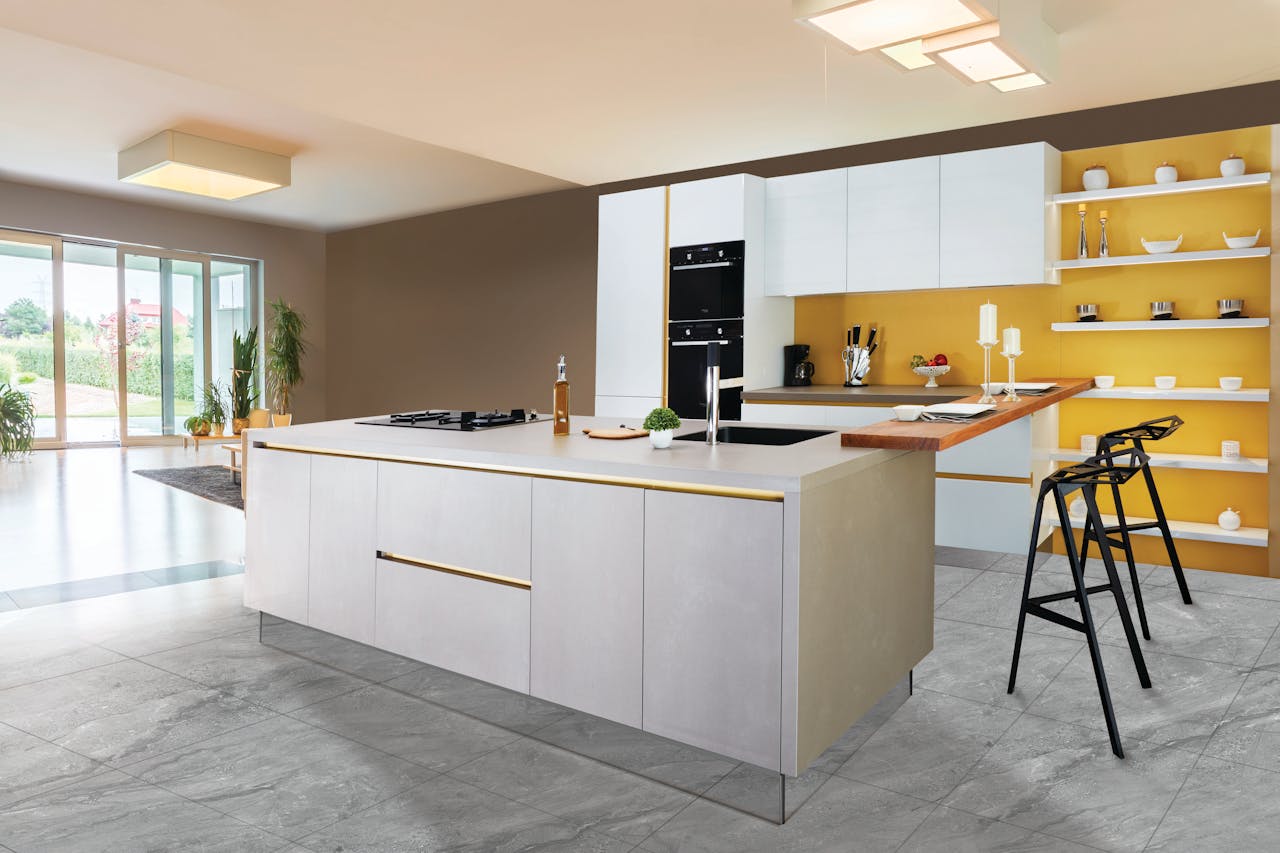 In the kitchen, clean lines and quiet colors go a long way. Pale sage green cabinets, matte white tiles, and brushed brass fixtures can feel both modern and warm. When paired with natural wood or stone, these elements create a fresh, airy space that still feels grounded. Subtle doesn’t have to mean boring—it’s all about thoughtful combinations that balance simplicity with charm.
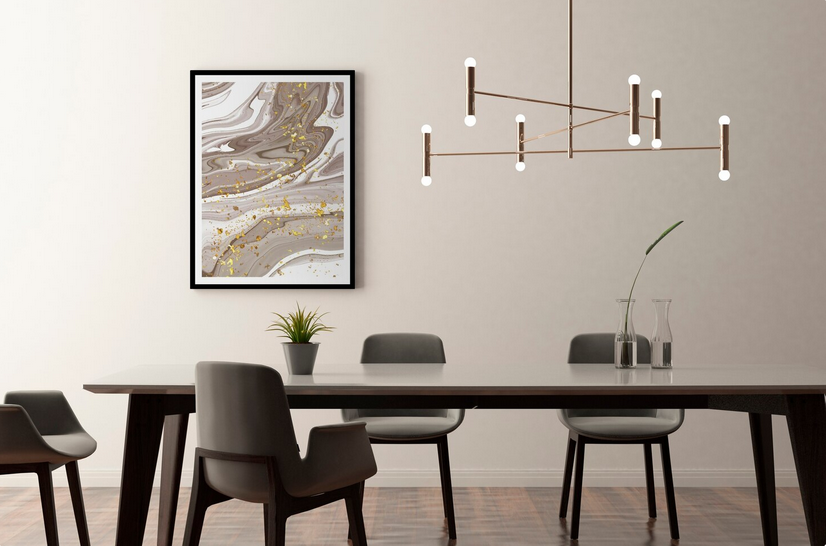

 If you are remodeling within your current space, this is probably not as important. However, if you are building something new or expanding, you will need to evaluate your entire property. You should think about your lot’s slope or if an additional slope is needed, such as for a basement area. If the whole property is heavily wooded, you will need to consider how many trees and root systems will need to be removed.
 What is your basic taste in home decor? Consider whether you want a ranch design, a two-story home, a modern look, or perhaps a conventional style home. Whatever material you envision for the exterior, you’ll still have a wide variety of alternatives and looks to choose from, whether it’s brick, concrete or aluminum, wood, rock, or a mix of many. You will also want to think about how your plans will fit in with other homes in the area.
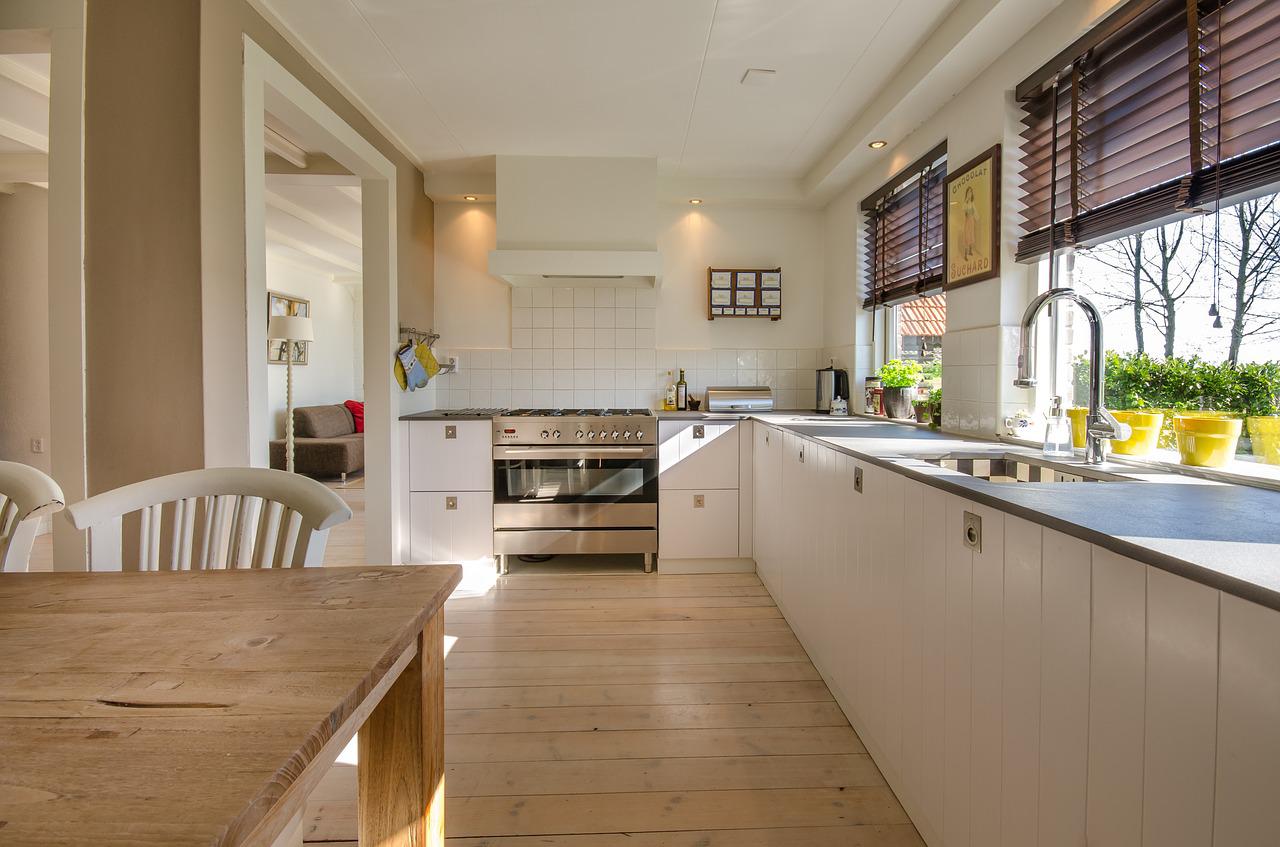
 Laminate flooring is a popular choice for homes in tropical climates. It is made of synthetic materials that are resistant to humidity and heat. Laminate flooring is also easy to install, and it can be used over existing floors. The only downside of laminate flooring is that it can be scratched or damaged easily. To avoid this, choose a laminate flooring with a high wear layer. Laminate floors can be installed over existing floors, making them ideal for homes in tropical climates. However, it is essential to hire a professional installer to ensure that the floors are properly sealed and protected from moisture.
 The last type of flooring material we will discuss is concrete. Concrete is one of the most durable materials for your floors. It is also resistant to moisture and heat. The best things about concrete flooring are that it is easy to install and maintain. Many homeowners in tropical areas choose concrete flooring because it is so durable and easy to care for. There you have it. These are the top four flooring materials for homes in tropical climates. Be sure to do your research before making a final decision. When picking the best flooring material for your home, always consider the environment.