

The pet currently remains at roughly 54 million, according to petsfunnies.com. Just as this, 27 percent of families have young doggies and 17 percent have pets, yet have you ever produced an amicable living region your pet will love and feel comfortable in? If the arrangement isn’t mainly at that point, know about the top tips from Stacey Sibley, innovative administrator of inside creators Alexander James Interior Design and the pleased proprietor of 2 Westies, Alfie Piglet. Here, Stacey shares her experience and eye for the format to help you change your home into a perfect asylum for the four-legged companion.
Fur-Free Upholstery
Beware of any exposed wood on your furniture – an excitable puppy can find it because of their new favorite teething toy! Steer clear of any fragile substances that could be ruined by your cute little buddy, e.g., silk: smooth tapestries, leathers, and artificial fibers. Invest in quality clothes that can withstand the test of these claws.
Squeaky Clean Flooring
 Considering the inescapable blustery, sloppy days, and those early months, when your doggy/cat remains figuring out how to latrine train, we exceptionally ask flooring that is not difficult to wash. Hardwood flooring that imprint/scratch promptly and need quick cleaning if a puddle shows up hardwood flooring finishes rapidly! On the off chance that you’re set for every one of those perfect hardwood floor materials, at that point, select for harder woods, e.g., pecan or mahogany.
Overlay floors, clay, or stone tiles. These likewise have the extra bit of leeway of keeping up your pets looser during the hotter climate.
Spotless Kitchens
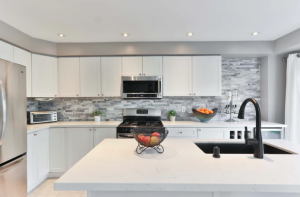 Pet-obliging internal parts are connected to keeping up your space as unique as could be expected in light of the current situation, permitting that fresh out of the plastic new kitchen to glint without annoying little guy/kitty bowls smearing the ideal vision and leaving out food bowls in plain view and sliding them under the toe kick of your kitchen chimney stack.
Pulling them out for suppers time, moreover opening that water dish around a corner, so your bristly associates have clean water available.
Mud Room Sanctuary
Picture the scene: You have only been outside a fantastic walk, exploring the vast open areas and coming wellies caked in sand and a puppy that’s full of it also. The door opens – the entrance into a beautiful home. And before you know it, your hound is through that entry, drying off to the sides of the glorious brand new sofa and letting this nightmare take place. Install an entryway door to give you an entry space to wash off and clean off your doggy until they could enter the house. Store pet wipes, dog treats and other essentials in a cabinet at this entry to maintain the region harmoniously clean.
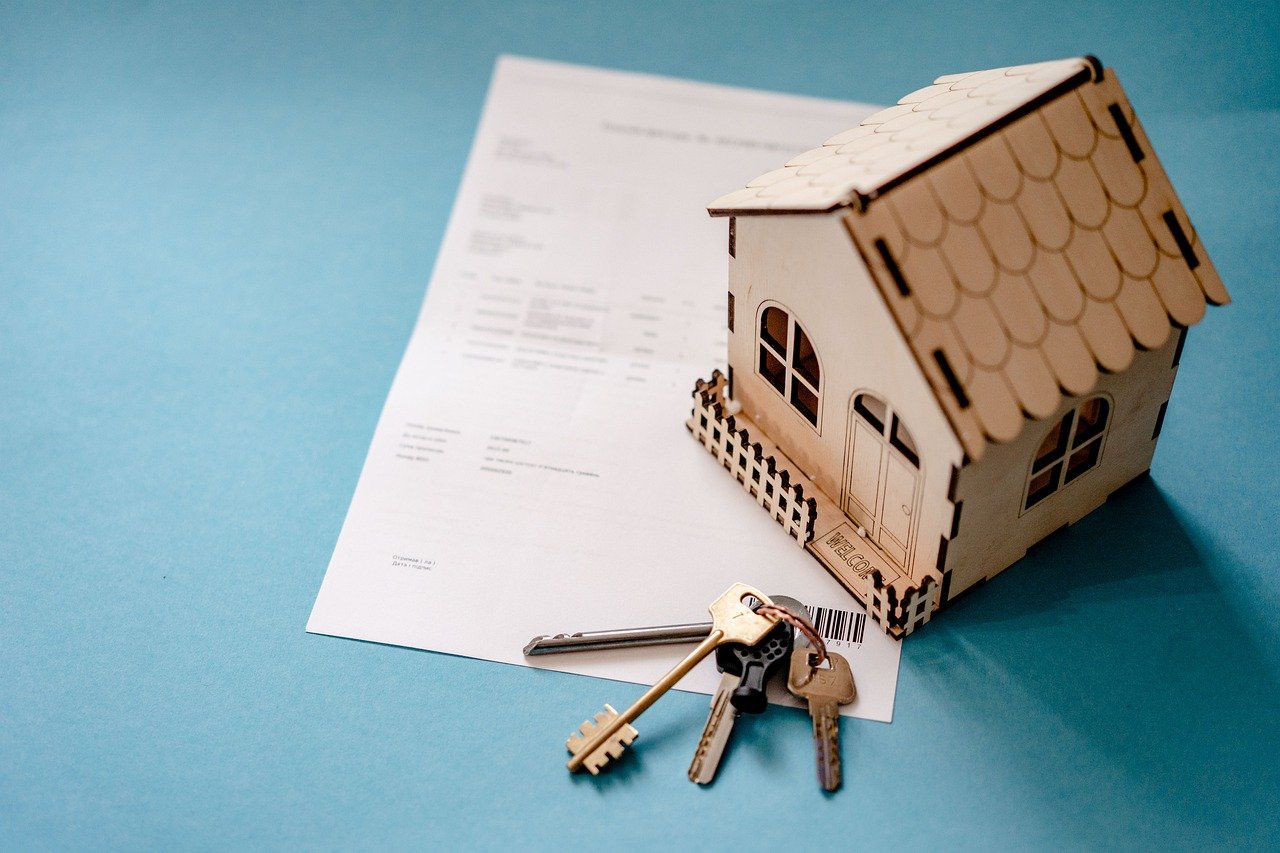
 Another mistake people make when applying for a home loan is lying on their application. Even if you think that it won’t matter, it’s essential, to be honest with your lender about everything from where you’ve lived in the past five years to what kind of income sources are coming into your household each month – even if those sources aren’t steady. If you lie on your application, it could come back to bite you later on.
 One of the biggest mistakes people make when applying for a home loan is not confident that they can afford the monthly payments. Remember, your mortgage payment will likely be your most significant monthly expense, so you need to be sure you can comfortably afford it. Don’t apply for a loan until you have done your research and are confident that you can afford all of the costs associated with owning your new home.
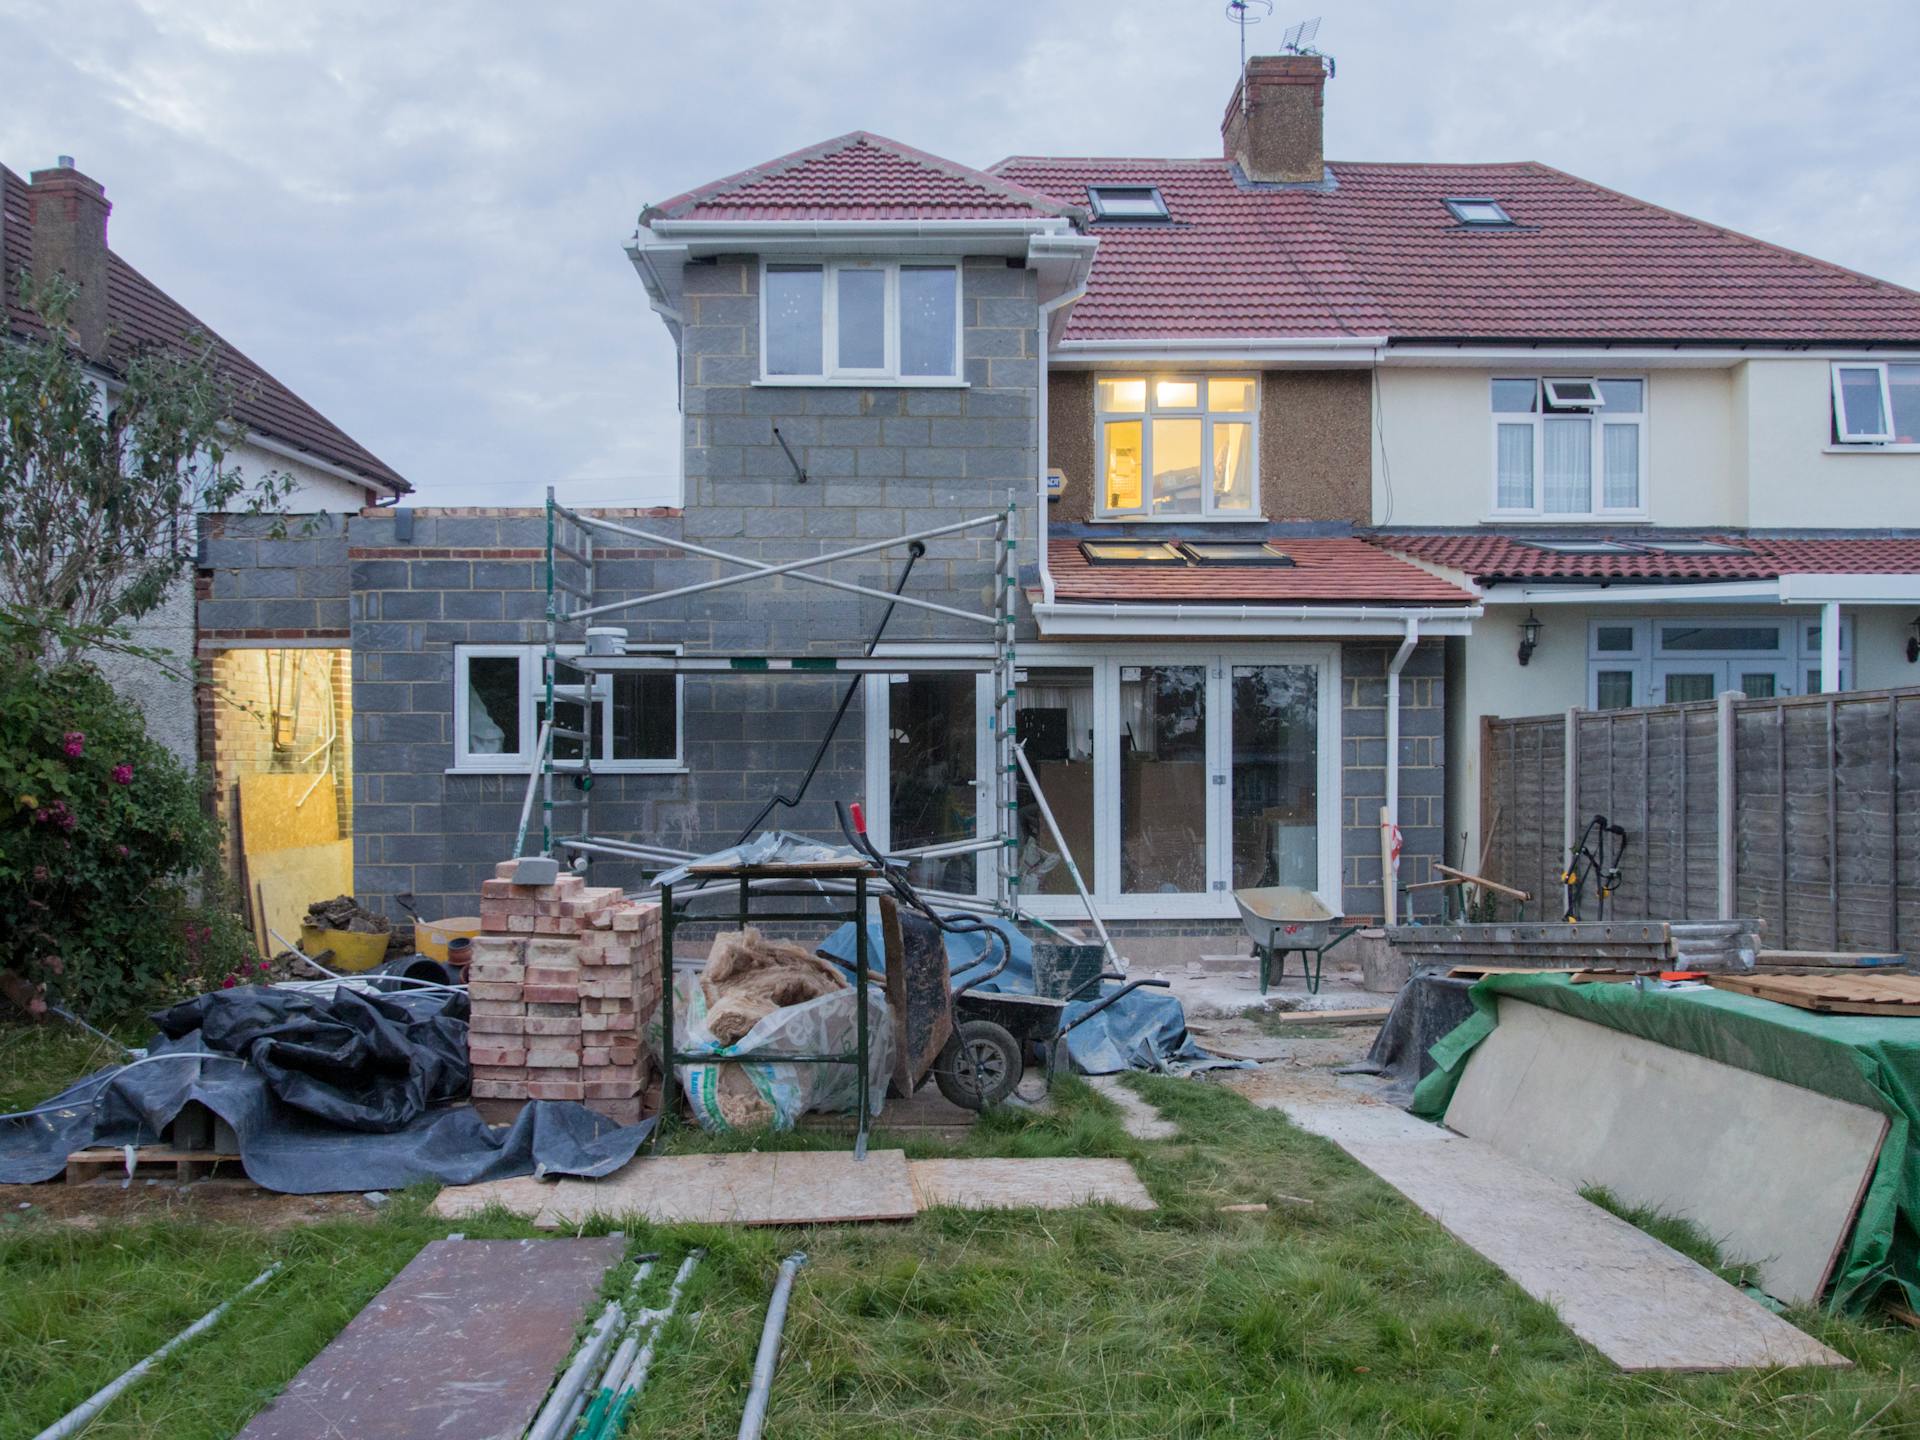


 If you are remodeling within your current space, this is probably not as important. However, if you are building something new or expanding, you will need to evaluate your entire property. You should think about your lot’s slope or if an additional slope is needed, such as for a basement area. If the whole property is heavily wooded, you will need to consider how many trees and root systems will need to be removed.
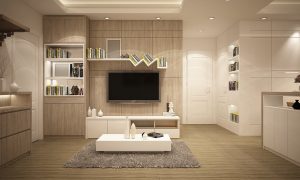 What is your basic taste in home decor? Consider whether you want a ranch design, a two-story home, a modern look, or perhaps a conventional style home. Whatever material you envision for the exterior, you’ll still have a wide variety of alternatives and looks to choose from, whether it’s brick, concrete or aluminum, wood, rock, or a mix of many. You will also want to think about how your plans will fit in with other homes in the area.