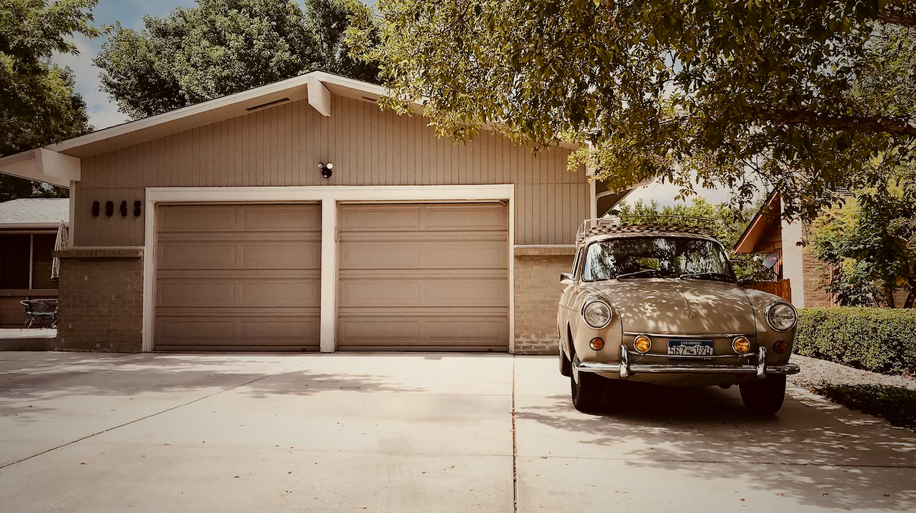
Welcome, frugal homeowners, to our DIY garage remodel guide. Are you looking to upgrade your garage without breaking the bank? Well, you’re in luck because we’ve got some budget-friendly ideas that will transform your space into a functional and stylish oasis. Many homeowners find their garage cluttered with certain things they sometimes use like work boots for mechanics, tool boxes, and a set of unused screwdrivers. This is why they install storage cabinets in their garage to keep things organized. However, with some creativity and a little elbow grease, you can take your garage to the next level without spending a fortune. So, let’s get started and see how you can upgrade your garage.
Painting and Lighting
Painting and lighting are two crucial elements that can instantly freshen up your garage space. Start by giving the walls a fresh coat of paint in a bright, neutral color to make the area feel more spacious and inviting. Lighter shades like white or beige will reflect light better and create an airy atmosphere. When it comes to lighting, consider adding both ambient and task lighting for optimal functionality. Install overhead fixtures with energy-efficient LED bulbs to provide ample general illumination. Additionally, incorporate task lights near workbenches or specific areas where you need focused lighting for tasks like woodworking or car repairs. Don’t forget about natural light! If your garage has windows, maximize their potential by keeping them clean and unobstructed.
Flooring
When it comes to upgrading your garage on a budget, one area that can make a big difference is the flooring. The right flooring choice can not only improve the overall look of your garage but also enhance its functionality. There are several affordable options available for DIY garage flooring projects. One popular choice is epoxy floor coating. Epoxy provides a durable and attractive finish that resists stains, chemicals, and spills. It’s easy to apply with basic tools and can transform your garage into a clean and polished space. If you’re looking for something even more budget-friendly, consider interlocking floor tiles.
Insulation and Ventilation
Insulation and ventilation are two essential aspects of a garage remodel that often go overlooked. However, they can greatly improve the comfort and energy efficiency of your space. When it comes to insulation, there are several options available for frugal homeowners. One cost-effective choice is fiberglass insulation batts, which can easily be installed between studs or joists. Another option is foam board insulation, which provides excellent thermal resistance and can be cut to fit any size space. Proper ventilation is equally important in a garage remodel. Without adequate airflow, condensation and moisture buildup can lead to mold growth and damage to your belongings.
Upcycled Furniture
Upcycling furniture is a fantastic way to give your garage a unique and personalized touch. Plus, it’s a budget-friendly option for frugal homeowners looking to upgrade their space without breaking the bank. With a little creativity and some DIY skills, you can transform old or worn-out pieces into stylish and functional additions to your garage. One idea for upcycling furniture in your garage is repurposing an old dresser as storage for tools and equipment. By removing the drawers and adding shelves or hooks, you can create a practical storage solution that not only keeps things organized but also adds character to the space. Another idea is using an old table as a workbench. Simply sand down the surface, add a fresh coat of paint or stain, and secure it to the wall or on top of sawhorses.
Upgrading your garage on a budget is entirely possible with these DIY remodel ideas for frugal homeowners. By prioritizing painting and lighting enhancements, choosing affordable flooring options, addressing insulation/ventilation concerns, upcycling furniture pieces creatively, and optimizing storage solutions – you’ll transform this often-neglected area of your home into an attractive multipurpose space without breaking the bank. So roll up those sleeves and get ready to unleash your inner DIY enthusiast – it’s time to give that old dusty garage the makeover it deserves.